
Five plastic injection moulding design tips
One of the most popular ways of manufacturing parts made from plastic is injection moulding as it is advantageous thanks to its scalability and the ability to make millions of the same complex plastic parts. One of the main downsides with this technology is the building and maintaining of injection moulding tools, which can be expensive. Changing the tool to adhere to design changes can also be difficult. Let’s look at some of the top design tips to follow.
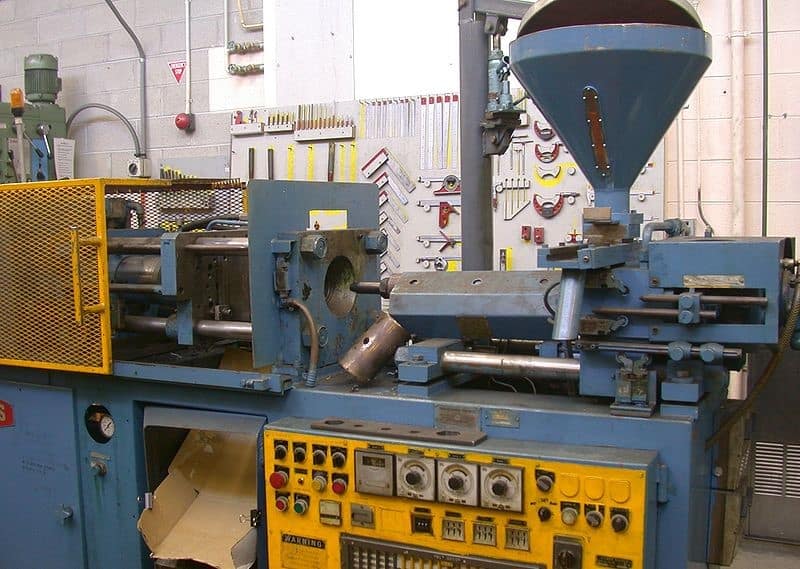
Image Credit
Wall thickness
It’s important to consider the thickness of your wall. The best flow will occur when the thickness is constant. Nominal thickness is normally set at between 2-3mm. A recommended minimum is 1mm while the maximum for conventional injection moulding is 4mm.
What materials to use
This is one of the most important aspects to consider when you design your product. This is because designers have to factor in many aspects which can change depending on the material used. These include the flexibility of the material, its cooling time and the shrinkage that can occur during cooling. The optimum wall thickness can also change according to the material used.
Design the corners of the mould correctly
Once the plastic moves into the mould it must be able to navigate the corners well. Moulds with rounded corners are more likely to see the plastic flow through and cover all areas, as opposed to moulds with rigid sides https://www.plasticstoday.com/injection-molding/troubleshooting-tips-plastic-injection-molding/94839715959218. In moulds with sharp corners, the plastic can harden when it cools, with uneven shrinkage leading to stress point on the product.
The texture of the product
Rather than leaving this until after the product has been produced, plastic injection moulding, like that carried out by professionals at http://www.meadex.co.uk can actually place the pattern or the texture required into the mould. As a result, this saves a lot of time as the texture does not have to be added after the moulding process is complete. Not only does this save a lot of time, it also saves a lot of money.
Prototype
Allow for early testing of your designs through prototyping methods such as 3D printing, where parts of or the whole design can be modelled before you build your expensive tool. This way you can remove early on any problem areas that could cause issues later on.


